
In my older Python Blender Game Engine tutorials, we implemented moving a player around a world with standard ray checks and directly moving the object via setting the dLoc variable of a motion actuator. This works to an extent, but there's still issues, mainly the fact that because we're relying on raycasts, there are 'blindspots' that are present that would invalidate collision checks. What I mean is that since we're using ray casts created from specific points on our object (the center), anything on the edges won't trigger a collision because we only check from the center. It is for this reason that it's generally best to leave physics and movement up to Bullet, as it's faster than ray cast functions, and actually gives us better control.
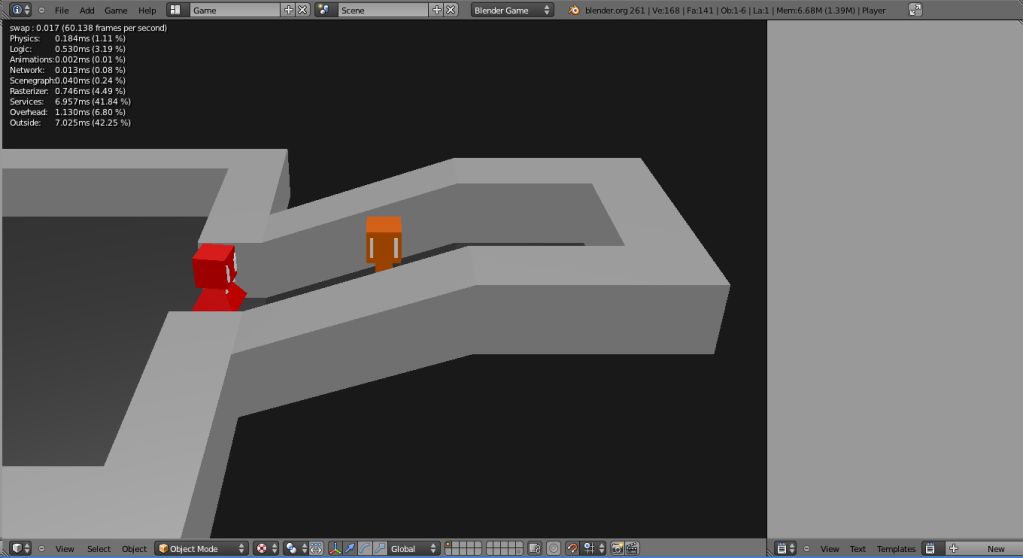
 To start this, be sure to set the Friction settings in your player's material that comes into contact with the ground to 0, as we handle friction ourselves (something I forgot to do in the previous tutorials). Also, set the Player to be Dynamic, and not Ghost. He can't be ghost because he needs to be able to collide with walls - if he's Ghost, then this isn't very useful, is it? Also, he must be a dynamic physics object to use linear velocity. Also set his collision mesh to be a Sphere type, with a radius of 1.0. This will have a bearing on his physical movement later on in the second half of this tutorial.
So, let's take a look at our modified source code, shall we?
--- Player.py ---
from bge import logic
from bge import events

import math                                                # Import the math module because we'll need math functions like atan2
import mathutils
So first, we added the statement to import the mathutils module. This will be necessary for a further collision check down the road in the second half to this part.
def Player(cont):

    sce = logic.getCurrentScene()
    obj = cont.owner

    enemycol = cont.sensors['EnemyCol']

    key = logic.keyboard.events
    kbleft = key[events.LEFTARROWKEY]
    kbright = key[events.RIGHTARROWKEY]
    kbup = key[events.UPARROWKEY]
    kbdown = key[events.DOWNARROWKEY]
    kbshoot = key[events.XKEY]
We no longer have a 'cont' line, as when you run a function from a Python controller set to module mode, it automatically provides the controller variable. We also removed the motion actuator and the check in the Python script (motion = cont.actuators['Motion']), as we won't be needing it anymore - objects in the BGE have a setLinearVelocity() function that we can use to directly set their linear velocity (simple sliding movement).
def Init():

        if not 'init' in obj:

            obj['init'] = 1

            obj['mx'] = 0.0            # Movement values
            obj['my'] = 0.0
            obj['accel'] = 3.0        # Acceleration rate
            obj['maxspd'] = 12.0    # Maximum speed
            obj['friction'] = 0.7    # Friction
In the Init() function, we now change some variables. The accel and maxspd variables are now much higher, because we will be dealing with the Bullet physics engine. For example, if we were moving the object ourselves (not with the physics engine), we would move it by the number of BU per frame, like 0.1. However, if we use the physics engine, we look at the number of BU per second, which is 0.1 * 60 frames per second (optimally), or 6.0.
If you do the math, you'll find the values above are equivalent to the values from the previous tutorials - just multiplied by 60. Friction remains the same. Let's proceed onward.
obj['shottimer'] += 1.0 / logic.getLogicTicRate()    # Increment the timer

        obj['mx'] = Clamp(obj['mx'], -obj['maxspd'], obj['maxspd'])
        obj['my'] = Clamp(obj['my'], -obj['maxspd'], obj['maxspd'])

        obj.setLinearVelocity([obj['mx'], obj['my'], 0.0], 0)
So, below the shot timer code and the clamping code, we handle our movement. It's different from the method before, where we used a motion actuator and its dLoc variable to manually move the object around. There's an object function that we can use that would serve this purpose fine, which is the setLinearVelocity() function. Given a tuple (or list) consisting of three numbers, it will move the object by those numbers, taking into account physics. It's very useful. This is an object function, but the Motion actuator still has other capabilities that aren't available in Python function form, like Servo motion, so keep it in mind for any harder movement setups.
In addition, while other methods might have the unintentional side effect of back-sliding, constantly setting the velocity with Python essentially stops this process from happening. This is probably because when you're pushing into the wall, the object is being moved back to prevent collision (thanks to Bullet), but when you let go, the object is definitively not moving (mx and my are being affected by the friction variable).
So, we provide a tuple to the function, giving it our mx and my variables to move by, and set the local flag to 0, or false, indicating that we want to move the object on the global axis (not by the object's facing). That's really it. From this point, the Bullet physics engine will take over and easily and quickly move our object about.
The final thing to consider is the enemy - what about his movement? Well, setting him up to work with Bullet is pretty simple too. We change his movespd to be higher to work with BU per second rather than BU per frame:
def Init():

        if not 'init' in obj:

            ...

            obj['movespd'] = 6.0
... And we move the object using the linear velocity function:
    def Update():

        ...

        o = Euler([0, 0, a])                                # Create a simple Euler angle representing the rotation of the Enemy
        obj.worldOrientation = o                            # And set it to the angle

        obj.setLinearVelocity([0, obj['movespd'], 0], 1)        # Move towards the Player
(Note that the '...' above are not code - they're just signifying that there's code that I didn't show there). If the enemy's not a Ghost-type, he shouldn't be able to go through walls anymore, and can now physically interact with other objects. Welp, that's it for this part. The next half to this part that we'll consider is ramps. The source code should be present there. Well, thanks for reading, and as always, have fun!
great stuff! thank you.
ReplyDeleteIs part 2 coming soon?
ReplyDeleteSorry, I haven't gotten around to working on these tutorials recently as I have been busy (and kind of forgot about them), but I do want to continue with the tutorials. I'll see about working on the new one. Thanks for the interest!
DeleteAlso looking forward for the Next Part, coming soon?
ReplyDeleteThe Ramp up movement needs some code changes it think,
beause now this movement is only in x,y directions, right?
Help us noobs! :)
I'm not sure - it's kind of tough to focus on tutorials, as I'm trying to make my own games as well. My tutorials have become a bit rare as of late.
DeleteMoving up ramps probably won't work with the code I have here, as I need to add in the Z-axis movement of the character. The thing about this is that I keep finding ways to make better movement, hah. Now I think that Vectors would be better to deal with and more expandable than just using numbers. Maybe I'll remake part 9 and also deal with ramps.
Sorry for the late response!
These are fantastic! Just finished your MazeCrawl tutorial and wanting to learn more! Hopefully you get the motivation to continue this series! This one, in particular, is great! In the meanwhile, I'll be playing around with your other tutorials.
ReplyDeletePeace